Introduction
When working with Microsoft Graph API to automate SharePoint operations (like writing script outputs, saving reports, updating Excel files), we can’t just use file paths. We need to work with unique identifiers - specifically - the file ID.
This guide walks you through the process of finding a SharePoint item ID by navigating the site hierarchy using Graph API Explorer.
The Goal
In this example, we’ll find the ID of an Excel file located deep within a SharePoint site structure:
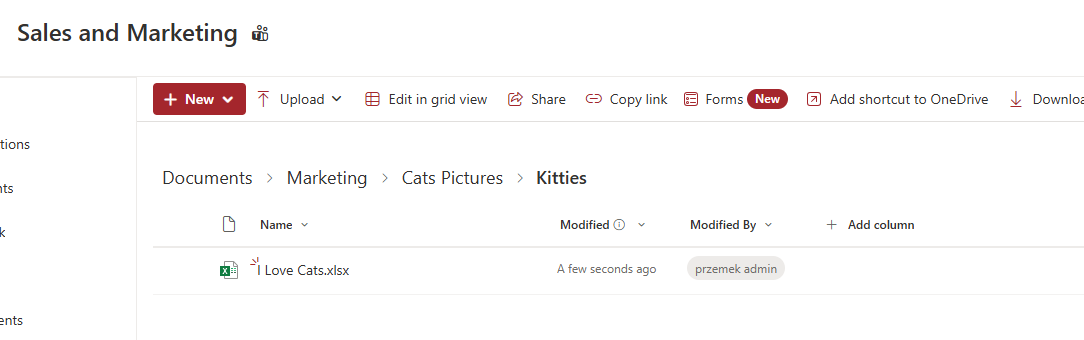
Target: Important file about cats
Before You Start
Important: To follow this guide, you need one of these permissions:
- Global Administrator role in Microsoft 365
- Site Owner/Admin permissions for the specific SharePoint site (not SharePoint Administrator role)
1. Get the SharePoint Site ID
First, we need the Site ID. There are several ways to obtain this, here is my favorite method:
Add _api/site/id to your SharePoint site URL
For example, my site is:
https://wst3j.sharepoint.com/sites/SalesandMarketing
I navigate to:
https://wst3j.sharepoint.com/sites/SalesandMarketing/_api/site/id
The response is in JSON format and the value in the Edm.Guid property is the Site ID.
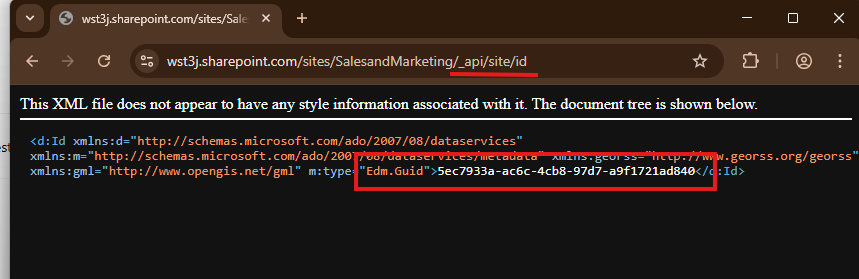
Using the SharePoint REST API to get Site ID
2. Get the Drive ID
Now that we have the Site ID, we’ll use Microsoft Graph Explorer to find the Drive ID.
- Navigate to Graph Explorer
- Make sure you’re logged in with appropriate permissions
- Run this query (replace
<Site_ID>with your actual Site ID):
https://graph.microsoft.com/v1.0/sites/<Site_ID>/drives?$select=name,id
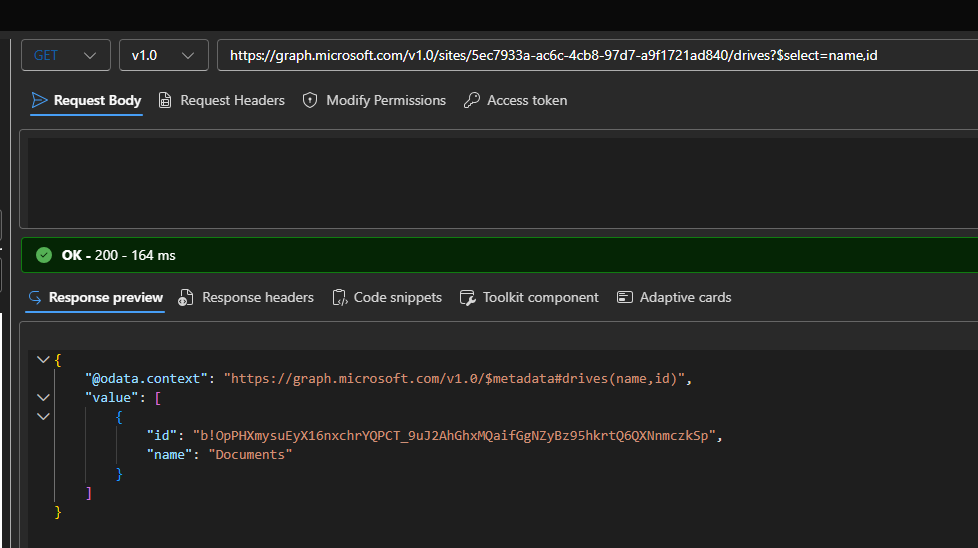
Using $select filter to get only name and id properties
The response will contain the Drive ID(s) for your SharePoint site.
3. Navigate the Folder Structure
With both the Site ID and Drive ID, we can now navigate through the folder hierarchy to find our file.
List Root Folder Contents
Start by listing the root folder contents:
https://graph.microsoft.com/v1.0/sites/<Site_ID>/drives/<Drive_ID>/root/children
This returns all items in the root of your SharePoint document library:
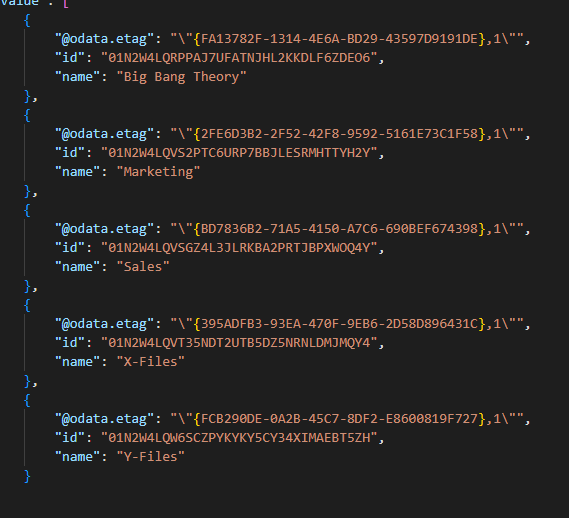
Root folder items with their IDs
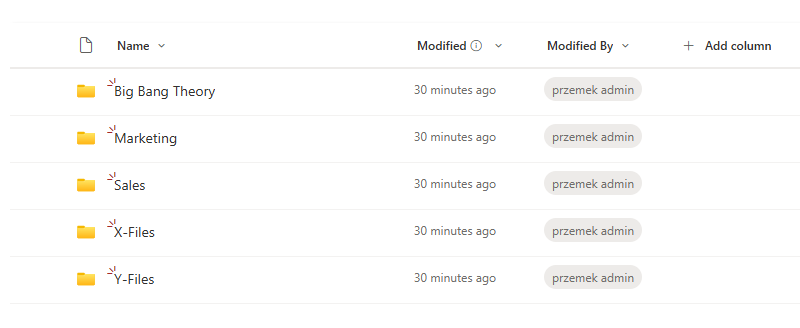
The same folders as seen in SharePoint interface
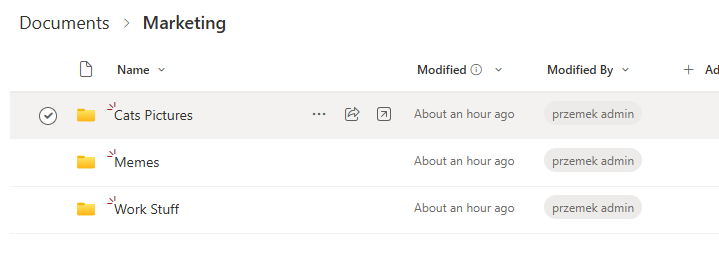
Navigate to Subfolders
In our example, the file is located under Marketing, so we’ll navigate there next using the folder’s ID from the previous response:
https://graph.microsoft.com/v1.0/sites/<Site_ID>/drives/<Drive_ID>/items/<Marketing_Folder_ID>/children
Contents of the Marketing folder The same folder via GUI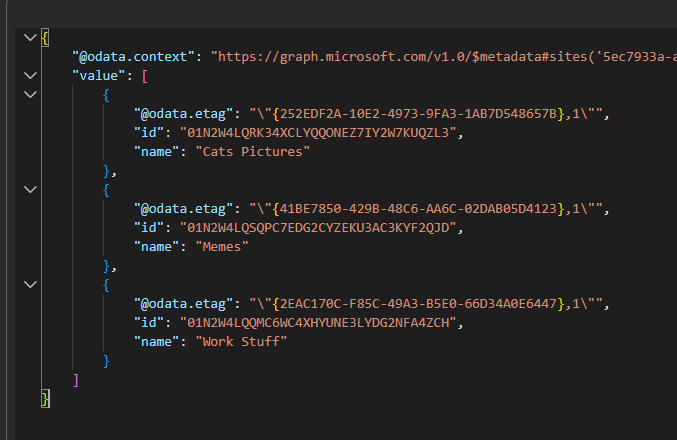
Continue Navigating
We continue this process, replacing the folder ID in the URL as we go deeper:
Next level - Cat Pictures folder:
https://graph.microsoft.com/v1.0/sites/<Site_ID>/drives/<Drive_ID>/items/<Cat_Pictures_Folder_ID>/children
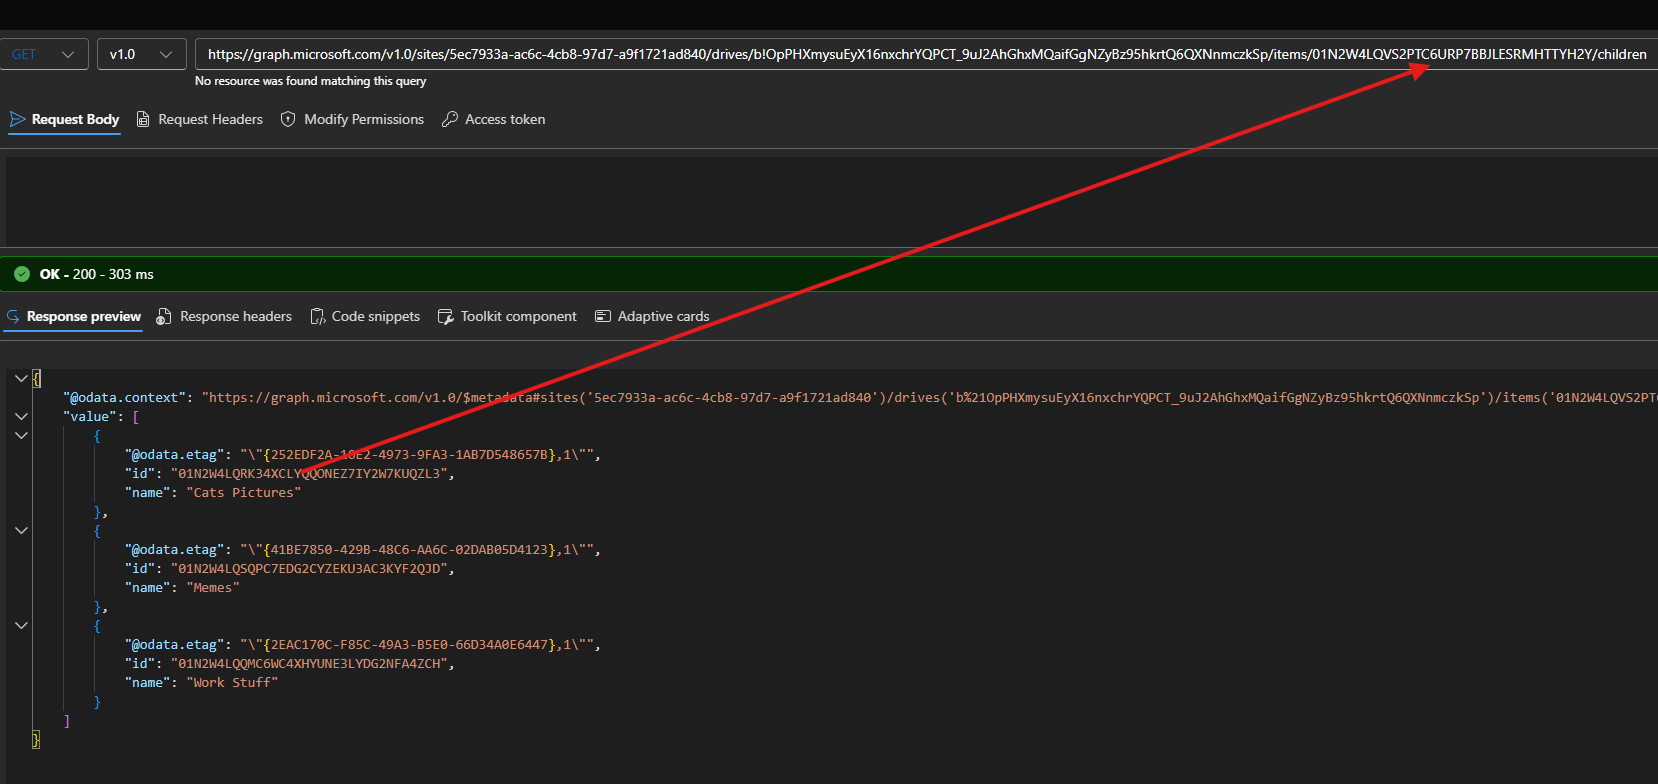
Getting closer to our target file
Final level - Kitties folder:
https://graph.microsoft.com/v1.0/sites/<Site_ID>/drives/<Drive_ID>/items/<Kitties_Folder_ID>/children
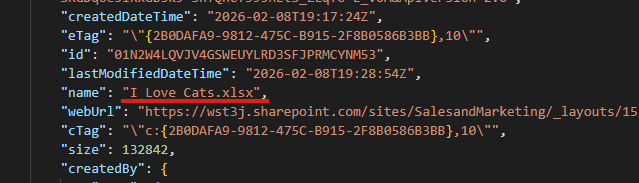
Found it! Our Excel file with its ID
Using the File ID
Once you have the file information from the API response, you can use either:
id- The unique identifier for Graph API operationswebUrl- The direct web URL to the file
Both can be used in subsequent Graph API calls to interact with the file (read, write, update, etc.).
Summary
The process to get a SharePoint item ID involves:
- Obtaining the Site ID using
_api/site/id - Getting the Drive ID via Graph API
- Navigating the folder hierarchy step-by-step using the
childrenendpoint - Extracting the final file ID from the response